Ok - part 2
Door constructionI now know more about door hanging and frames/jambs than I ever thought I would. Despite my best efforts, the jamb was slightly warped in the frame. While this was minimal, it still made for a lot of fluffing around on the seals and stops to get good, tight seals all round. (Slim offcuts from earlier trimming of the jamb, my router and plane became my “besties” throughout the process).
(If I did it again, I’d build the jambs first, put them in place then frame around them to keep them 100% plumb and square in both dimensions OR more likely, buy the jambs without stops already cut.)
Here’s the final design of the inner door. I have e shaped rubber seals on both the door and the stop for the first stop – like a fridge door (thanks Glenn!). I added the extra pine framing on the inside of the door, around the perimeter to hold a second seal. For this, I needed an additional stop that I was able to plane and fix in such a manner so as to compensate for any irregularities – giving me a good seal between one set of rubber seals and the wood stop without adding a second rubber - like the first seal. The mdf I added on the door face only needed to be 6mm according to my target isolation calculations, rather than the 19mm I used around the perimeter to hold the additional seals – no need to over invest in unneeded weight.
The diagram only shows the seals/stops on one side of the door.
Some pics of door construction
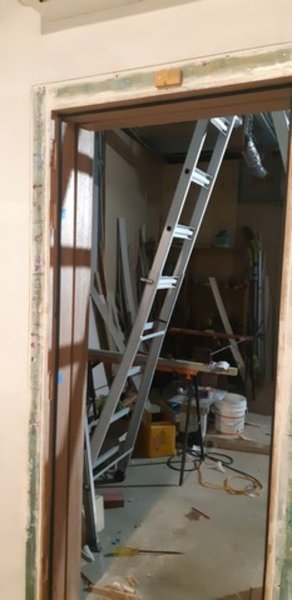
- The jamb

- I had to add 40mm to the latch side of the door
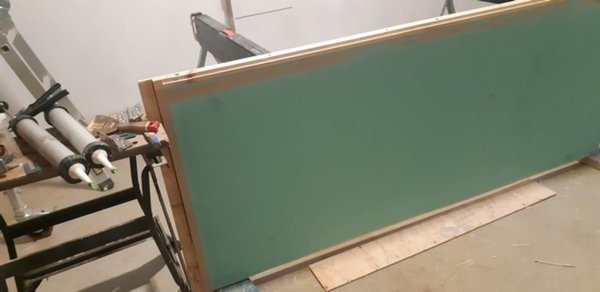
- cut out for drop seal
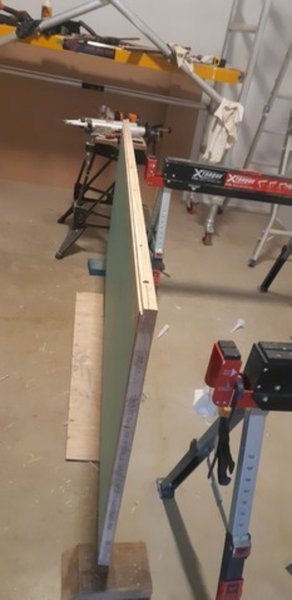
- routing for the angle iron/rubber seals
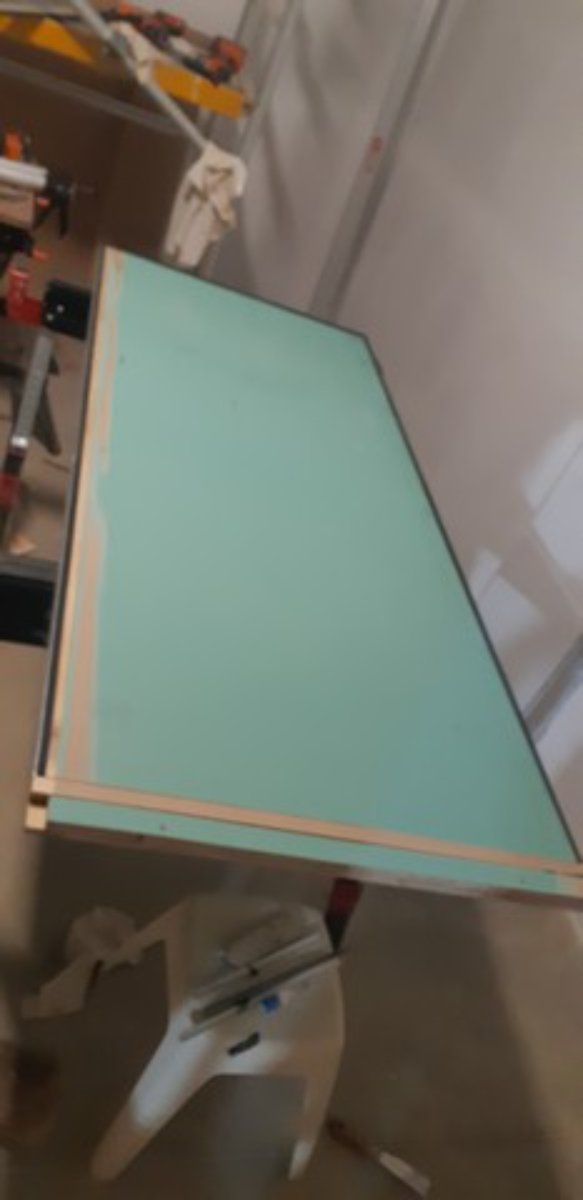
- Seals in for testing - yet to add the drop seal
- 20240502_195421temp seals rough in.jpg (40.34 KiB) Viewed 7654 times

- Seals in for testing - yet to add the drop seal
- 20240502_195421temp seals rough in.jpg (40.34 KiB) Viewed 7654 times
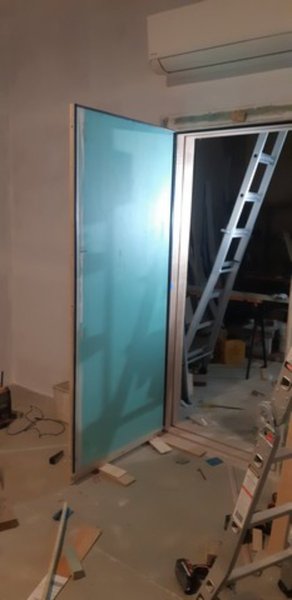
- Door hung with just the one set of seals
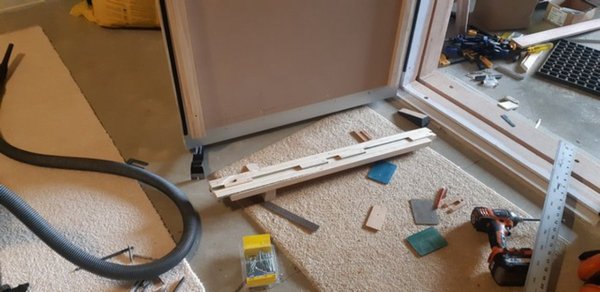
- This part was fiddly - the slight warping of the jamb meant I had to increase the width of the bottom rail (that holds the 2nd seal) as it runs across the door
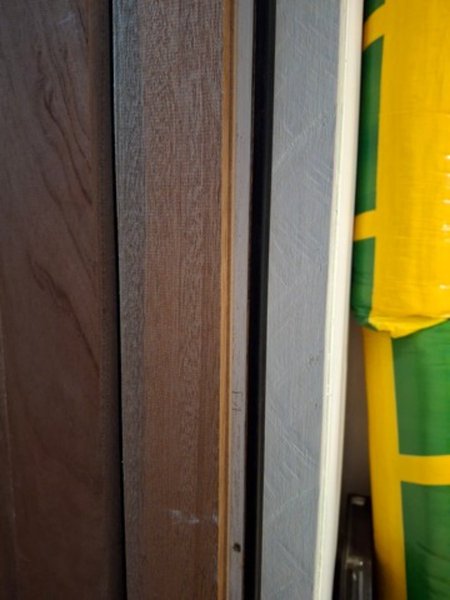
- The jamb side seals first to a rubber seal then the second is straight to the stop - see schematic
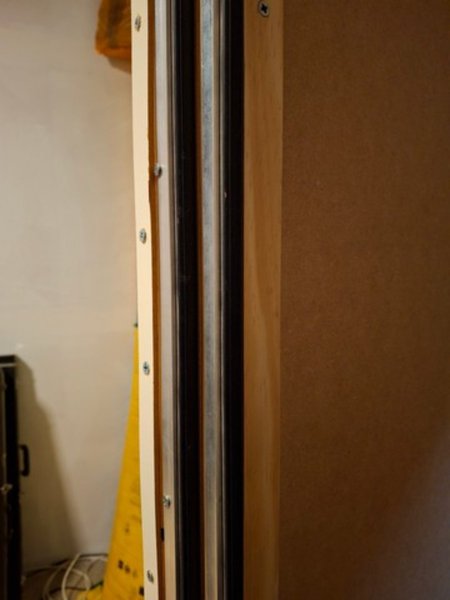
- On the door side there are 2 seals - see schematic
VentilationThe ventilation system looks like it has been designed by the House of Frankenstein

. I had ordered all my ducting, spigots, vents and knees at 5” as well as my fan and filter boxes. Then the filter box supplier came back and said that stopped making 5” units- so that became 6” and then some further engagement with the fan supplier determined the optimal model would be a 6”. So we have some reducers/expanders en route. Highlights the importance of finishing all design before you launch into materials purchasing.

It was a slow process as the mastic I used is a slow cure product, especially when you apply it thickly….but there are plenty of other tasks to do while waiting.
Anyway, here it is in all its glory….
The ventilation system outflow is currently terminating in the workshop area - you can see this in the last pic. I will either decide that this is OK or finish the ventilation outlet run to the outside world at a later stage. The workshop area is FAR from sealed to the outside world so it is unlikely to present too much risk.
The C02 measurement was interesting. I will install wired C02 meters when I get the rest of the electrical work done, but for now have a battery powered one in the room. When I had my band in the room for a rehearsal just after the room was “complete”, I ran the ventilation system (der) and had the AC on circulating the air in the room. The band is a 4 piece – drummer, bass player, electric and acoustic/vocalist. The meter climbed from 430ppm to 1,000ppm after about 90 minutes. While the room ventilation has been set for 4 people in passive roles (mixing/listening), that sort of increase in CO2 is way faster than I had expected, even allowing for higher than normal activity levels for this room. More investigation to be done I think. Depending on those investigations, maybe a fan on the exhaust side may be the go.
For now, I’m back in the LR – building ventilation boxes/plenums and running ducting, audio and data cables before I finish off insulation in the walls and get back to gyprocking...but I'll post separately on the revised plan for ventilation boxes/plenums.
